DIY Orange Sherbet Fizz Bath Bombs
I am sooooo excited! Why, you ask? So if you have been following me on Instagram I have alluded to the fact that I have been working on something over the summer and I am finally ready to share what I have been up to! As you know, I thoroughly enjoy creating my own products but so far I have been dabbling in a lot of different categories yet haven't felt like I was becoming an expert in any one thing. Well with our recent move and me working a little less than normal, I was gifted with a little extra time on my hands and I had the urge to begin really researching and learning something new. Right before our move I "rediscovered" Lush and my fascination with all their products, but most specifically their bath bombs. With all my successes in DIY products up until then I thought, well why can't I make those at home? I decided to give it a go and scoured the internet for recipes for bath bombs. I turned our kitchen into a bath bomb making laboratory and I will let you know that I have learned a lot and it certainly wasn't as easy as I had initially thought.
And now I am hooked, I am in love with creating and making bath bombs, bath melts, bubbles, soap, you name it! So if you are into that kind of thing, look forward to many recipes to come here on the blog as likely this is the focus that my blog will likely take on (while also including food recipes and perhaps other essential oil recipes when I come across a new DIY that I try). To start with, today I will share with you a nice summery bath bomb recipe with a therapeutic orange scent. Once I got the hang of creating the basic bath bomb I began experimenting with ways to get more fizzing action, movement, and bubbles from my creations. This particular recipe will not only give you a sweet, citrus scent; but it will also give you some nice moisturizing bubbles due to the addition of honey infused soap and a touch of almond oil. Hope you enjoy the recipe and please ask me any troubleshooting questions, I have had a TON of failures before I started getting predictable results so if you find yourself in this boat please let me know and I will try and help get you back on track!
* And just a side note, these bath bombs make great gifts and I will include a free printable label you can use to gift - when the bath bombs are fully dried carefully wrap them in a single layer of tissue paper or place in a giftable box and seal with the label!

Some links in this post are affiliate links which means I will receive a small commission if you purchase through the link provided. It is not necessary to shop through my links but if you do THANK YOU for your support of me and my blog! See Disclosure For More Details
Ingredients & Supplies Needed
* This Recipe Will Make 4-8 Bath Bombs, depending on size, for this particular recipe I recommend working with the smaller sizes as the addition of the soap base makes for softer bath bombs and the larger size will have a tendency to crumble easier.
Dry Ingredients:
6 Tbsp Epsom Salt
1 Cup Baking Soda
1/2 Cup Arrowroot Powder
1/2 Cup Citric Acid
1 Tsp Orange Mica Powder (+ additional for decorating)
Wet Ingredients:
3 Tsp Almond Oil
1/2 Tsp Vitamin E Oil
3 Tsp Honey Melt & Pour Soap Base
60 Drops Orange Essential Oil
20 Drops Vanilla Essential Oil
20 Drops Polysorbate 80
Extra Supplies/Ingredients:
Bath Bomb Molds (any can be used, I find for these the smaller the better)
Pink Coral Mica For Decorating
Avery Labels (the free file is formatted for the 2 inch diameter circle labels)
Small Paintbrush
Spray Bottle
90% Alcohol
Distilled Water
Mask
Disposable Gloves
Mixing Bowls
Measuring Spoons/Cups
Fork & Spoon
Spatula
Orange Sherbet Bath Bomb Recipe
Begin by measuring out and combining all of your dry ingredients except for the mica colorant into a mixing bowl. Sift together with a fork to combine all ingredients well. There will be particles that disperse into the air so you may want to wear a mask for this part. Once all your ingredients are mixed well, add your 1Tsp orange mica and continue to sift and stir to distribute the colorant evenly throughout the mixture.
Once your dry ingredients are mixed, take a smaller bowl and add your melt and pour soap base. Microwave in 10 second intervals until all is melted, be sure to not overheat. Once all is melted add in your remaining wet ingredients to the bowl and stir to combine well.
Now you will want to pour your wet ingredient mixture slowly and carefully into your dry mixture. Use a spatula to ensure that you get out as much of the wet mixture as possible. Work with a fork (mashing) or spoon (stirring) to begin to combine the ingredients together. Next you will want to mix with your hands to ensure all ingredients are mixed well and so you can confirm the consistency and texture of the mix. You will likely want to wear gloves for this as the citric acid can strip nail polish and the soap base may be too warm to handle.
You will know that your mixture is ready to mold when you can pick some up in your hands and squeeze it and it hold its shape, kind of like slightly damp sand. If you feel that the mixture is too dry and not holding its shape you can combine alcohol or witch hazel and distilled water in a spray bottle (half and half), and spray a few sprays at a time until the desired texture is achieved. * Due to the soap base in this recipe it is unlikely that you will have a need for excess moisture.

You are now ready to mold! Begin by spooning mixture into one half of your mold, pack lightly (not too tightly or your bath bomb will become too dense and sink straight to the bottom of the tub!). Slightly overfill the half. Do the same with the second half and slightly overfill. Carefully combine the two halves together and press firmly around the edges as opposed to pushing in the center (top/bottom) of the mold. Let this set for 2-3 minutes undisturbed while you mold the remaining bath bombs (if using multiple molds).
After 2-3 minutes use a spoon to gently tap around the seal and then very carefully lift off the top half of the mold. If the bath bomb breaks do not fret, simply pour it back into the bowl, remix, and try again. If you successfully remove the top half of the mold then you will want to replace the mold back on and flip it over to attempt to release the bottom (opposite) side. If this come off successfully as well then place the bath bomb (with only one half of the mold removed) to dry for 4-6 hours, resting on the half with the mold still in place. After 4-6 hours carefully remove the other half of the mold (at this point a spoon should not be required to break the seal) and let the entire bath bomb dry for 12-24 hours. It is helpful to let the full bath bomb dry on bubble wrap so as to not create any flat surface.

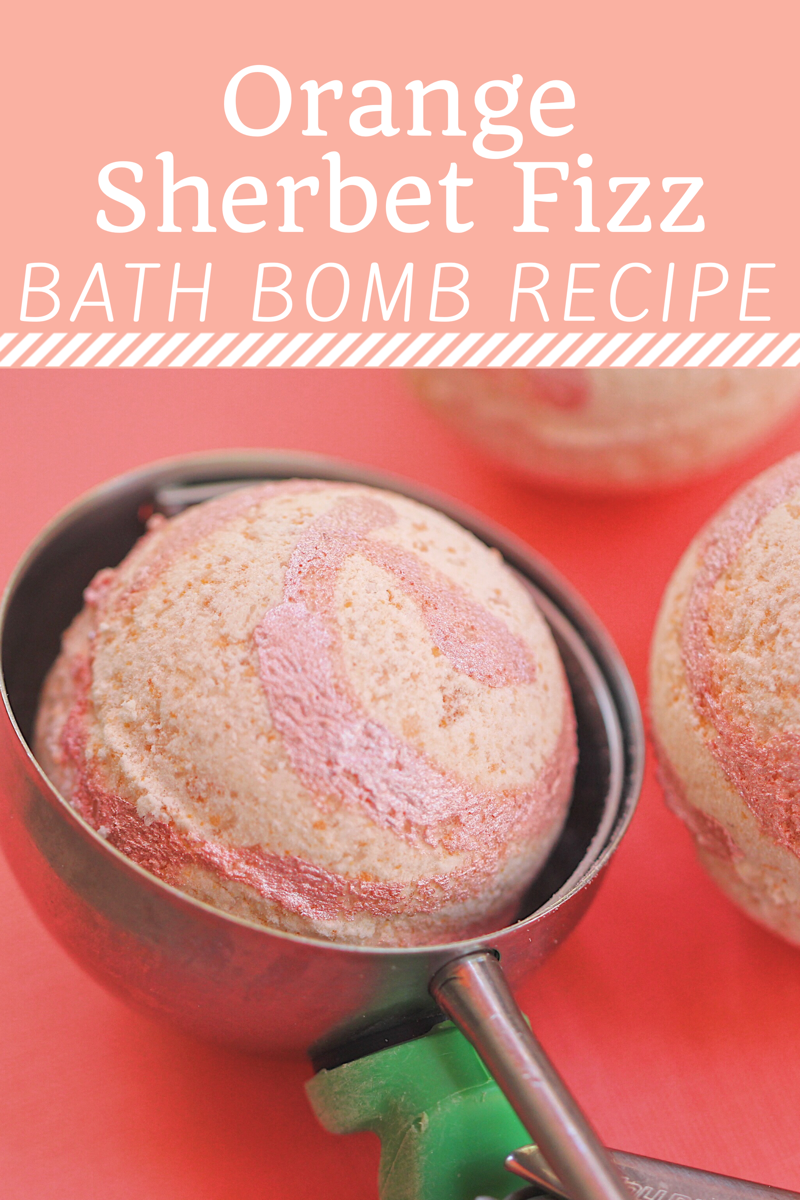
After 12-24 hours if you wish you can add decor to the outer surface. I painted mine in a swirling pattern to represent two toned scoops of sherbet (or I tried anyways LOL). Whatever pattern you wish to create simply make a small mixture of mica powders (1 small bowl per color to which you will add 2 parts mica powder to 1 part alcohol). I typically do 1/2 Tsp mica to 1/4 Tsp alcohol but you can add as much as you wish, just be aware that the more colorant you use the more will be dispersed over you and your bathtub! Mix the alcohol and mica together and it should form a pretty saturated paint that you can then use a paintbrush to paint directly on the bath bombs, use your creativity and paint as you wish!
Once fully dried wrap or package them appropriately and use within 1 month for best results (the sooner the better). Use extreme caution when handling as the mixture will still retain some softness to it, as such these would likely not ship well. Troubleshooting questions? Ask away in the comment section below (or email me)!
These bath bombs will act like a mix between the fizzing variety and the bubble bar variety - lots of bubbles with a healthy dose of fizz! Also, due to the nature of the mixture, it will not be uncommon to have small clumps and bits settle toward the bottom of the tub. As with all my bath bombs and products I keep a dark washcloth handy on the side of the tub and after I drain out all the water from the tub I simply wipe it down with the cloth. Due to the content of polysorbate the color should wipe right off the tub.
Hope you all enjoy this sweet, citrus filled bundle of goodness in your next bath!
Free printable labels for your bath bomb here!