
Pinterest Strategy Secrets That I Used To Grow My Pinterest Following
Some Links In This Post Are Affiliate Links, See Disclosure For More Details
Prior to blogging the only social media platform I used consistently was Pinterest. I am one of those crazy Pinterest people that just love to see what others make and do and pin it all in hopes that I will find time to do the same myself! When I began blogging I read a lot about how Pinterest can really drive traffic to your blog and what an amazing social media platform it was. I thought to myself, "wow, how perfect!". So since I was familiar with this platform I decided to put a lot of my social media focus here. By using the strategies that I outline below I went from 130 to over 1500 Pinterest followers in under three months with minimal effort and no use of a third party service (such as Board Booster or Tailwind). The minimal effort involved pinning a total of twenty minutes per day and spending whatever time was needed to create my own pins. I also did do a little "cleaning house" initially to organize all of my boards. Alright, I will stop there with the intro because I already know this is going to be a long one, so here you go, my 10 strategies to building your Pinterest following.
1. Organize Your Boards
So the first thing you will want to do is structure and organize all your boards. You want to have maybe 10-20 boards to start with- all within your niche. So for me, a motherhood and healthy living blogger, I have boards for Paleo recipes, DIY all natural products, essential oils, motherhood, child activities, etc. If, like me, you already have other boards that are off topic from your niche (mine would be my boards such as photography and home decorating), you should make these boards secret. The reason to make these boards secret is that the goal of gaining Pinterest followers is to have people follow all your boards as opposed to one certain one. If a person takes a look at your feed and your topics are widely variable, they will likely not follow all of your boards. This took me a while to learn at first. Most of my pins were Paleo or natural living pins so most people would just follow those boards as opposed to following all of my boards. Once I consolidated my boards and narrowed down my topics I now have a higher rate of people that will follow everything.
After you have selected which boards to make visible and which to keep secret, you need to make sure to name your boards appropriately. When I first started I used cute titles with a little humor to them like "camera shy" for photography tips. I learned this is not the best approach. You want to title your boards what other people might be searching for, that way they may stumble upon your board in the search and begin following. So in this photography example using "photography tips" or plain "photography" would be better than "camera shy".
Okay, so now you should be left with 10-20 boards, all within your niche, all with searchable title names. You will then hide or make secret the rest of your boards that do not fit your niche. Congratulations, you got through the hard, time consuming first step. Now you can move on to step two!
2. Update Your Photo and Profile
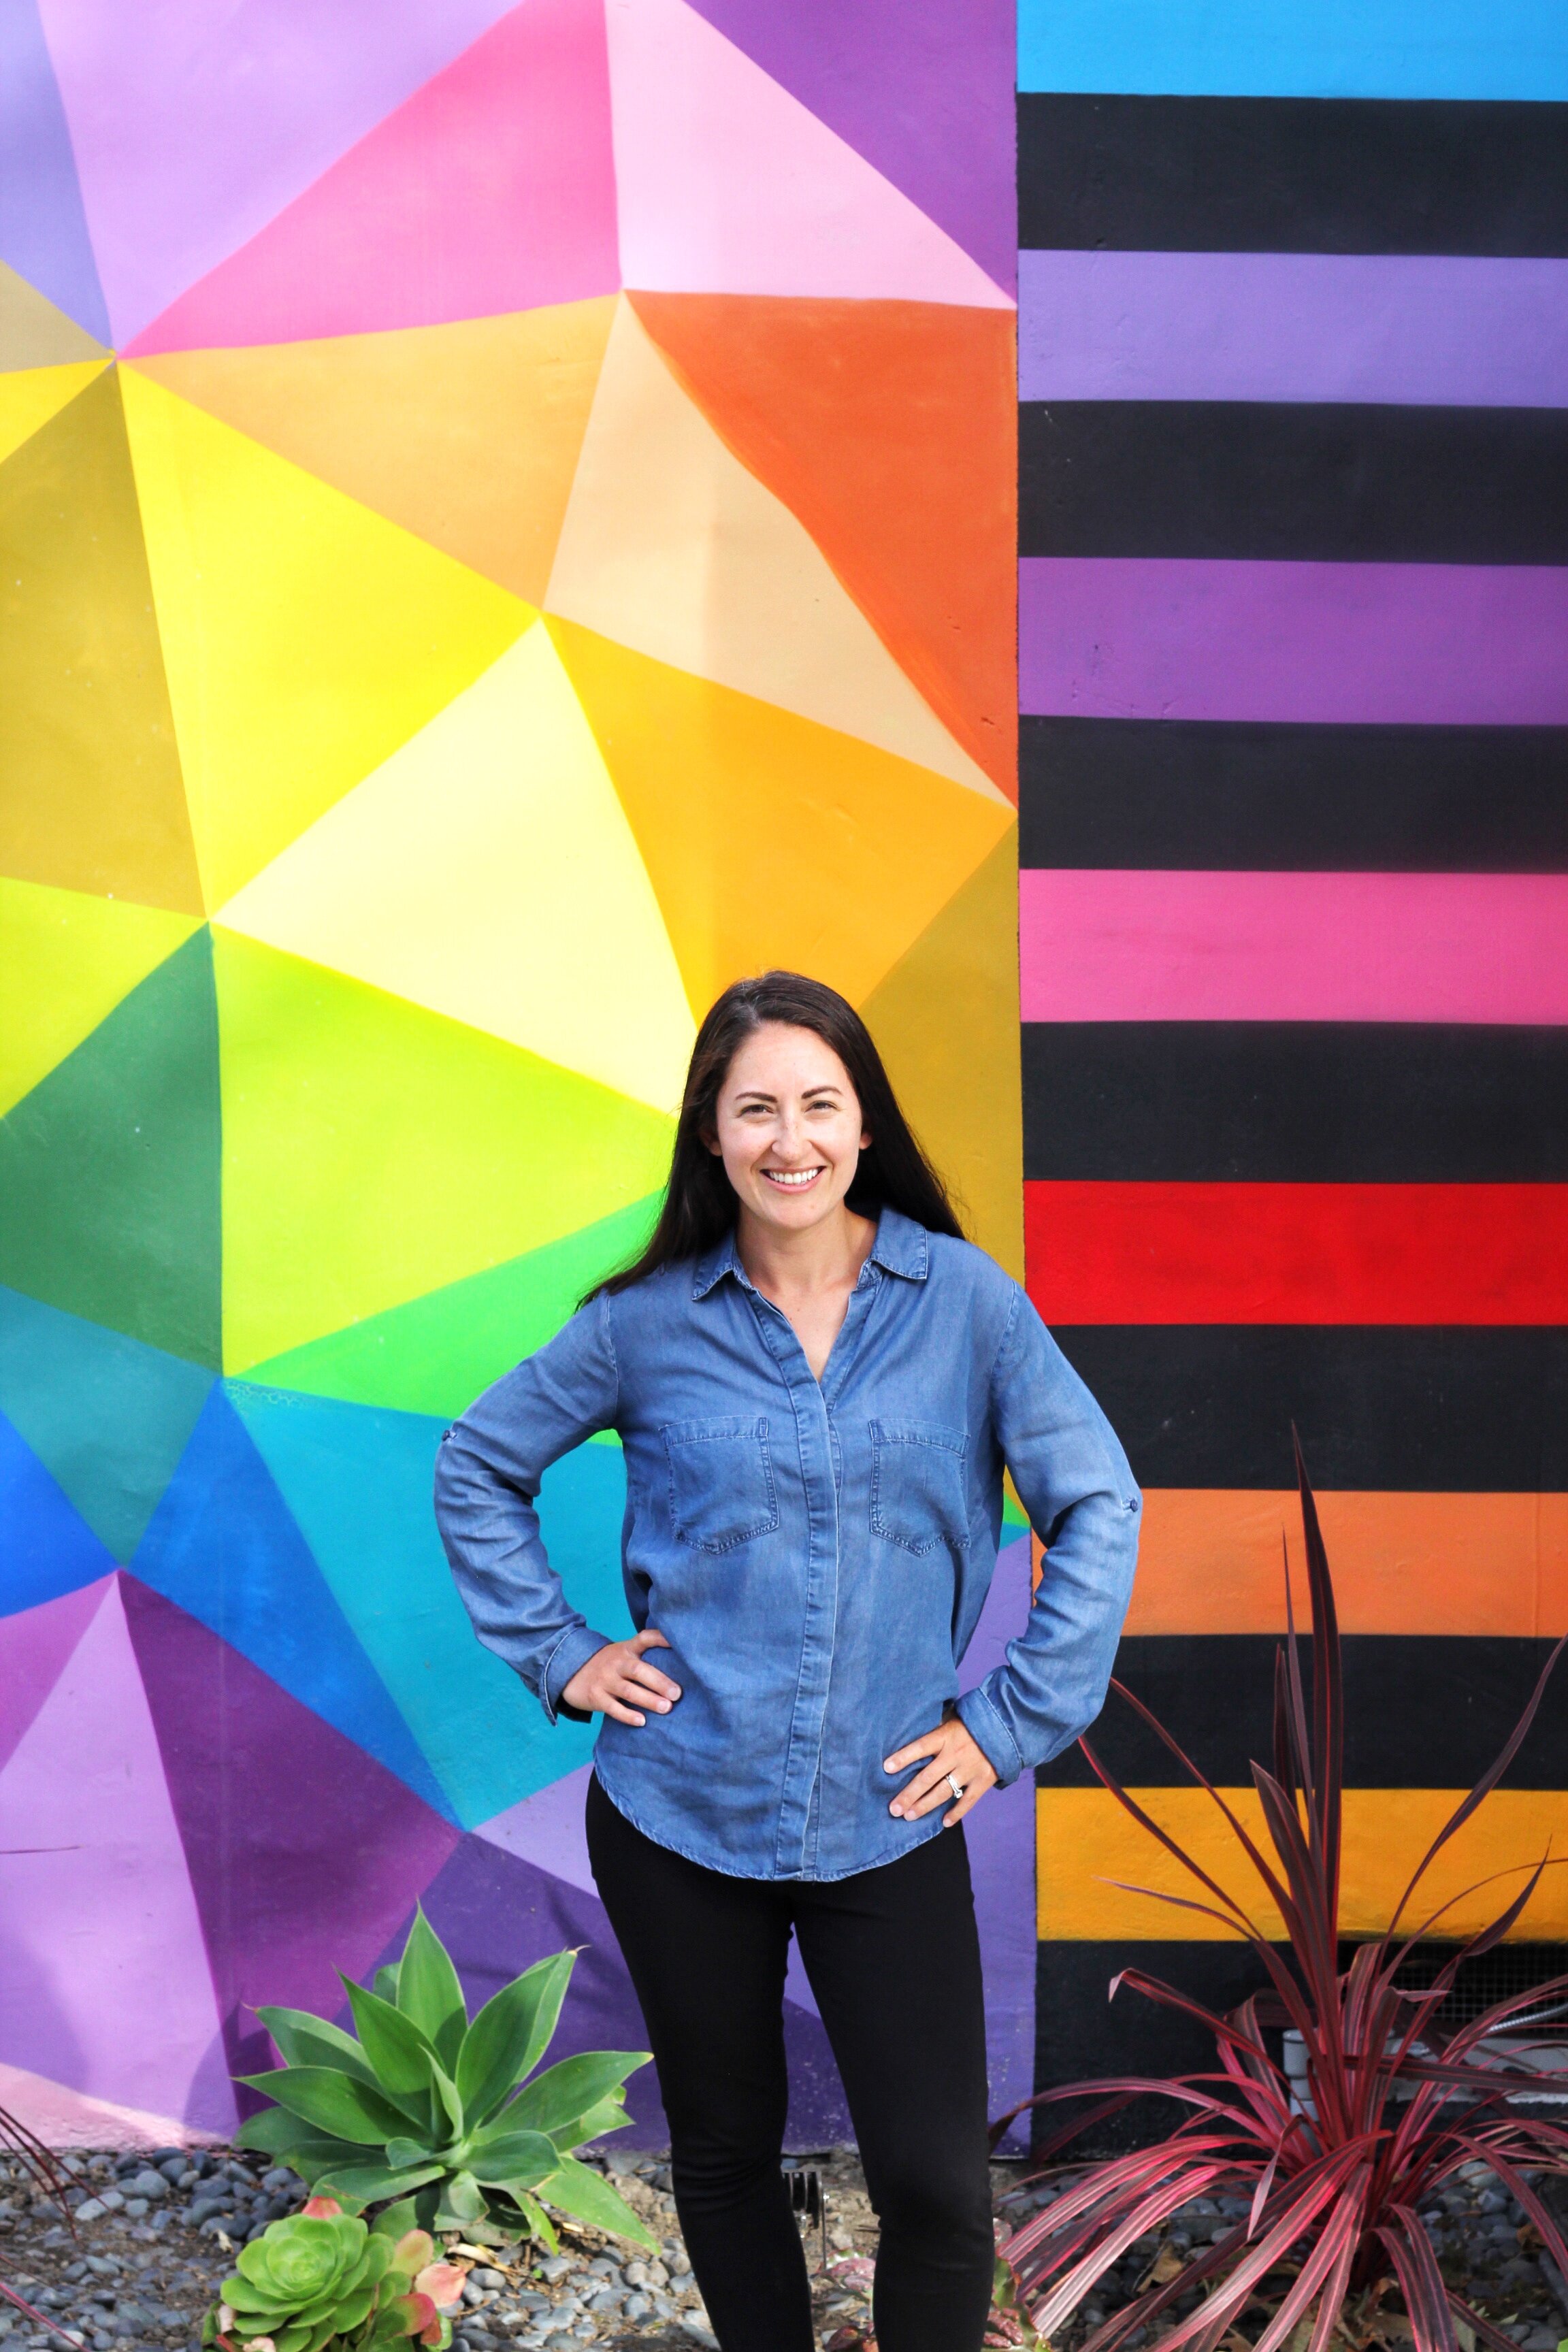
Your profile is your small space to convince pinners why they should follow your boards. Your description should give them an idea of what your interests are and thus what you are likely to pin. For example, my bio says "Just a mama trying to live a healthy and colorful life. Ideas and inspiration here on Pinterest and my blog, follow along!" This will show readers that 1) I'm a mother 2) I try my best, but I'm not perfect 3) I post inspiration and ideas on healthy living in a colorful way 4) They can follow along with what I am doing through Pinterest or on my blog- or both!! A lot can be said in just a few sentences my friends!
This catchy profile description should also be accompanied by a great photo of you or you and your family. Logos or graphics do not gain as much interest as photographs of people do as they are more impersonal and don't make as much of a connection with readers/pinners. You should also include a link to your blog if you have one.

3. Switch To A Business Profile
I didn't do this at first and this is not a must, but switching your profile to a business profile will give you access to all of the analytics Pinterest has to offer. These analytics include showing how many people you have reached with your pins, how many have been repinned, your most popular pins, how many people interacted with your blog through Pinterest and so much more. The beauty of this information is it helps you know what your audience wants to see - both from your original pins and from pins from other people. This can help you decide on blog post topics for all you bloggers out there. For example, if one of your highest shared pins is one from someone else's blog or platform, then you can post a blog article on a variation of this topic (obviously don't copy) because you know that people want to read about this. Catch my drift? These analytics helps you to read the minds of your target audience, pretty cool, huh?
4. Change your board covers
This was something that I did without even realizing its importance. One day I started playing around with the look of my board covers and started switching the cover photos to my favorite image within that board. Pinterest will default to using your most recently pinned image as the cover for your boards so if you do not choose one, this is what will be shown on the board cover and will be constantly changing as you pin. Once I switched up all my images I then had a much more cohesive feel to my profile and it was much more visually appealing. You will want to try to stick with images that group all into the same color scheme or "feel" to them and also stick with images without text. Pinterest will default to cropping directly in the middle of the photo for long pins so be sure that the cropped image looks the way you want it to or else choose a new image. There is no way at this time to adjust where Pinterest should crop your image.
Now if you really want to get extra credit and up your game, you can create custom board covers. You can do this with images and text overlay, or text alone. You can use Canva, PicMonkey, or PhotoShop to easily do this. I have not yet done this but I plan to when I have some spare time (although the thought of having spare time is kind of comical LOL!). You can see examples here and here on how to create custom board covers.
5. Have A Secret Board With Original Content
Okay, so here is where we are starting to get to the meat and potatoes of what you likely came here to learn. So, you now have a descriptive profile with organized and eye catching boards, now how do you draw in an audience from Pinterest to your blog or other platform? Well the first thing you will want to do is create a secret board that you post only your original content onto. Make sure that every blog post of yours has a pinnable and Pinterest dimension friendly (vertical) photo. You will then take any applicable photos for each article, add an attention grabbing description and pin it directly from your article to your secret board. This way it is ready for action when you want to send it out into the Pinterest world. When you pin directly from your blog article, the image will directly lead back to the article when other pinners click on it. This also gives you a one stop shop for all your original pins in one place so you can keep track of how they are performing and makes it easy to find what you are looking for when you are wanting to promote a certain article or post. So when I am wanting to get some of my own content out onto Pinterest I just go directly to this one board, choose what I want, and pin it to the applicable public board, so much easier than fishing through your blog former what you want each time.
Now that you know the logistics of this secret board, lets talk images for a second. Your images need to rock. They need to be eye catching with an exciting title. For example, my original tittle of "all natural toilet cleaner" did not perform near as well as it did when I changed the title to "how to clean your toilet without getting your hands dirty". Now thats something that makes you want to click through and read, right!!?? Nowadays there are some really good apps that make the total package images a breeze. My favorite is Canva, but there is also PicMonkey and good old PhotoShop. You want the image to be front and center along with an overlay with a catchy font for the title and it also helps to include your website right on the image too as sort of a watermark but also to brand your images.
If you don't feel you have the ability or time to take great quality images then you can always purchase stock photos to help with this. I take a lot of my own images but I also use Ivory Mix for styled layout type photos (like the ones seen in this article). I feel that they are one of the best as far as what you get for your money- they are affordable, have a great selection and wonderful quality. You can see their pricing and more on their membership packages by clicking here. Now, I could take such images myself but I would rather put that time and energy into taking photos that correspond with my DIY recipes rather than generic, yet pretty flatlays. I mean you only have time for so much, am I right!?
The ultimate goal is getting a Pinterest user to click onto your image. It is up to you to decide where you want that user to be directed to once they click. Your goal might be to get exposure to your blog and your goal might be to get the user to purchase something from one of your affiliates. *As a side note, if you are interested in learning about affiliate marketing I highly encourage you to check out the course Making Sense of Affiliate Marketing. This course is taught by the amazing Michelle Schroeder-Gardner who currently makes six figures a month from affiliate marketing. Her course explains how to effectively utilize affiliate marketing and there is even a bonus section on using Pinterest to increase your affiliate revenue. I learned a great deal from taking this course and recommend it without hesitation!* Whatever your end game is, it all starts with having a great image, so start there!
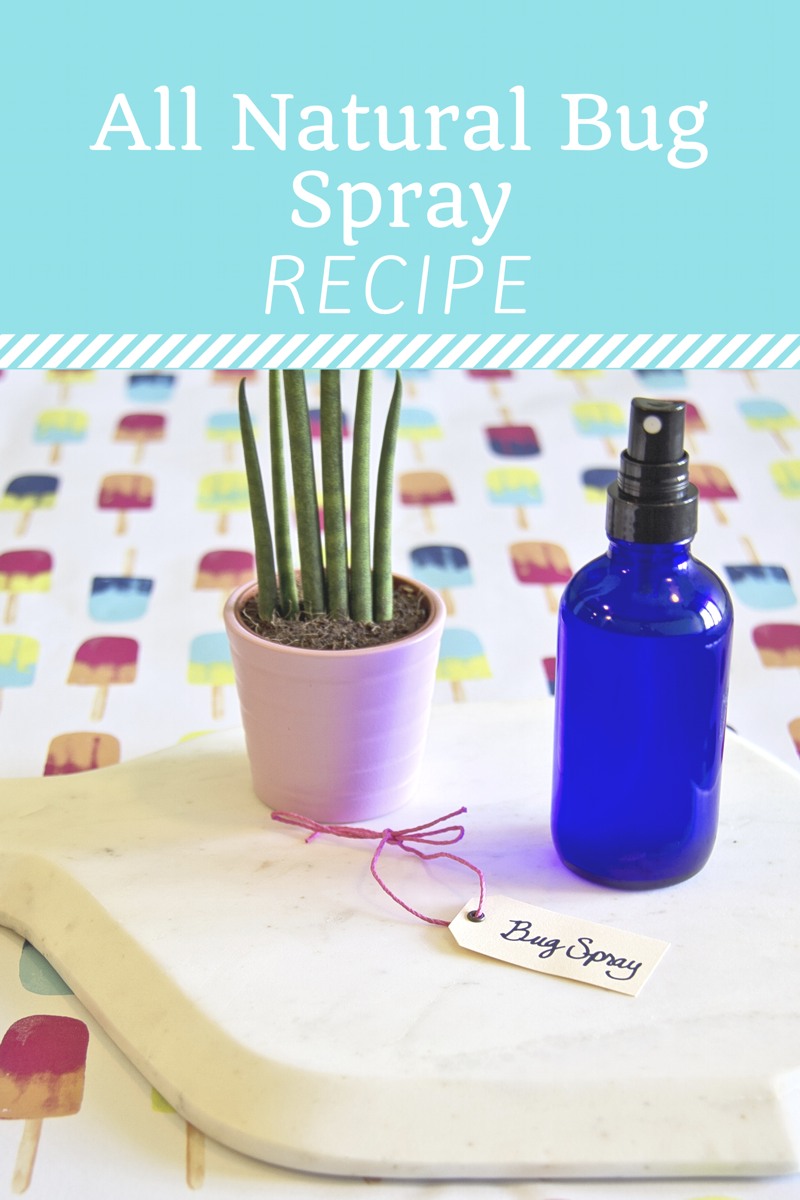
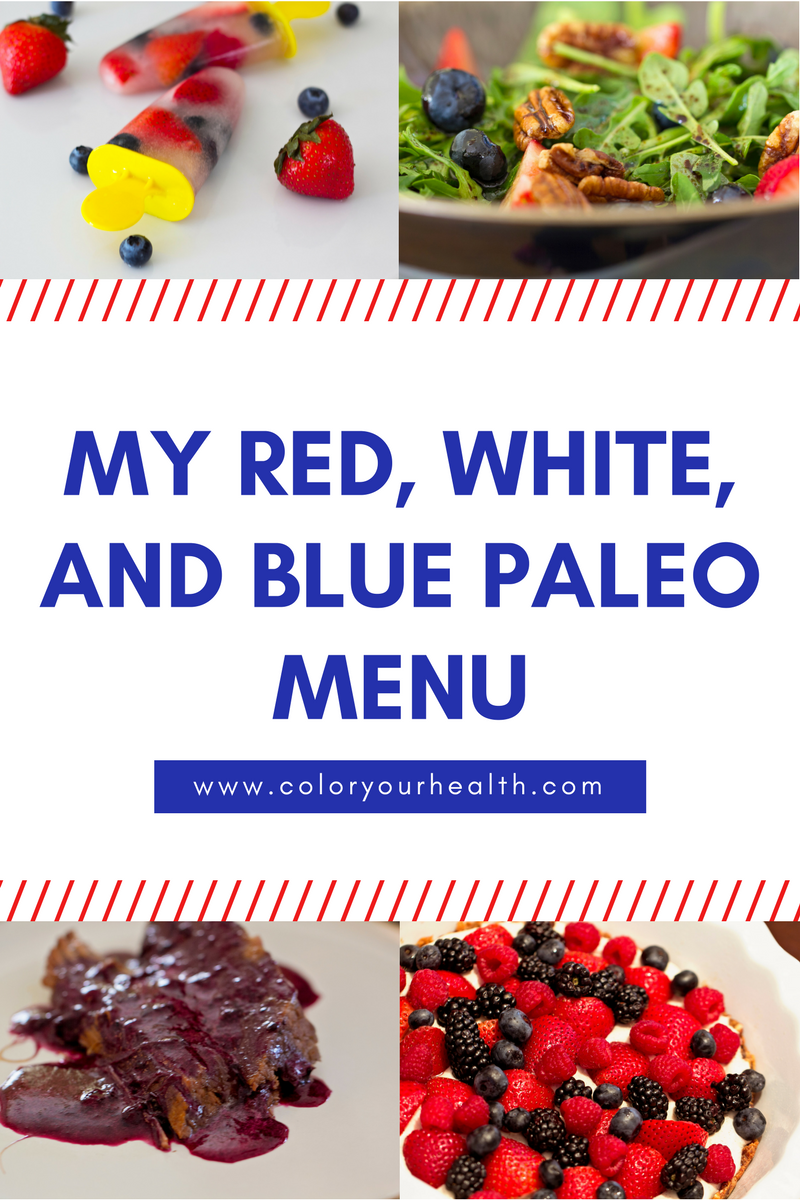
Here are some examples below of some of my own images created using Canva, and some of my images created using Photoshop. Someday I will post a tutorial on using Photoshop for Pinterest images- just don't hold me to it hahaha! Bottom line, make sure your image is visually appealing and make sure you have a good description and that the image links back to the corresponding blog post or preferred platform.

Pinterest Image Generated From Using Canva
Pinterest Image Generated From Using Photoshop
6. Pin Daily
The first thing I started with was the simple strategy of pinning a few images at a time throughout the day with a total of 10-20 total for the day. Just by simply committing to pinning daily this increased my exposure to all Pinterest users. Just like other social media outlets, Pinterest went away from displaying pins chronologically so more time and effort is needed to get your pins exposed to people outside of your circle of followers. At first I would pin everything at one time right before bed as this is when I had the most time to devote. However, I noticed a larger gain in followers when I would spread the pins out throughout the day and do a few in the morning, afternoon, and evening as time allowed. The most important thing I feel is that you should never pin just because you feel like you have to, if you are enjoying what your are doing then you will be pinning high quality content that people will want to repin. If you are rushing through this just to "get it done" then you likely are not caring what it is you are pinning and this will reflect in the amount of repins that you get and the amount of followers you gain. It is better to have 10 high quality, exciting pins per day rather than 20 boring and possibly spam type pins (see number 7 below as I address the potential for spam pins).
7. Avoid Pinning Duds
So this is something super important but easy to forget when you are feeling rushed to pin. Even if something is very visually appealing, you want to actually click on it and see that it takes you where it claims to. For example, you want to avoid pinning something that promises a recipe for delicious chocolate brownies but then takes you to a website selling Ebooks - sounds absurd but this is very common on Pinterest. People will pin these spam type pins to get their products seen that people wouldn't typically be interested in. If you do not check this and people find that you are consistently repining spam pins they will likely unfollow you or not even follow in the first place.

8. Join Group Boards
Group boards are something that is gaining some steam in the Pinterest world. Basically a Pinterest group board is a collaboration of different pinners that all pin on the same topic. For example, I am in a group board for essential oils and it has 17 contributors and close to 12,000 followers. There are group boards that have up to and even well over 100,000 followers. So basically when you join these group boards and pin to them you are exposing your pins to all the followers of the group board which often times is more than your own following. You can identify group boards by the multiple person icon or the fact that it shows multiple contributors. Typically it will state in the description of the board how one can join as a contributor, usually there is an email contact. If nothing is mentioned this likely means that the group is closed to new contributors although you can still check by trying to message on Pinterest the owner of the board (you can find this by clicking on the "collaborators" button).
What I have learned however, is that one should approach group boards cautiously. You should be picky in those you choose to join. You want to do your research, see what collaborators are already on this account, see how many repins the pins in this account get and how often the same pin shows up as you scroll through. If it is a board with a high amount of contributors then likely the pins will move through so fast that the life of anything you pin will be very short. Likewise, if you see multiple pins on these boards that have single digits for the repin rate then you know this board is not very active. Your ideal group board will have many more followers than contributors (ideally 10-50K followers) and will have high repin rates of a variety of pins.
I am working on making a Pinterest group board check list that will be available soon in my Members only area which you can access by subscribing to the blog!
9. Find And Study Leaders In Your Niche
Here is a really fun and easy one to do! So what you want to do is find accounts that are in your same niche (for me I looked for moms who focus on healthy living and clean eating) and that have a high follower number. You will then study (not copy) the types of boards that they have, the content that they pin, and the group boards that they join. These three things are likely what have made them successful to begin with and can likely give you insight and inspiration on how to proceed with your agenda and where to focus your attentions. You will also want to be sure you follow these leaders as you will then start to automatically see the pins they come across in your own feed.
10. Repin
So this is one that I did not truly understand at first but am starting to now focus on learning. Basically I thought you never wanted to duplicate your pins because I know I get annoyed when I see multiples of the same pin come across my feed and I did't want to loose followers from reposting the same content. However, there is definite value to repining your original material, you just need to keep a few things in mind. The first important thing to know is that you typically only want to repin content that did well the first go round. If it wasn't popular the first time around, it likely won't be the second time around unless you have a gained a substantial amount of new followers that may feel differently than your previous audience. The second thing is that you will want to space out the time between repins. I have not exactly figured out the "sweet spot" of when to repin things, I have tried repining a few days apart, a few weeks apart, and a few months apart and none have produced consistent results so the jury is still out for me on this one. I think it all depends on your audience, the number of followers you have, what board you are pinning to, and how many new followers you have gained since the previous time you pinned this. So the ideal timespan between repining will differ from person to person and will likely take some time to figure out what works best for you.
Alright my friends, that was a lot of info! Hope you are all still with me! Leave a comment below of what has or has not worked for you on Pinterest. Also, please leave your Pinterest handle so I can give you a follow, I love seeing all that everyone else finds - like I said, Pinterest junkie over here! My Pinterest account is Color Your Health, I look forward to hearing from you all!